Q.How do I use the blacklist?
The blacklist is a function that allows you to flag certain users when they are active on your store, such as registering for an account, sending in an inquiry, or placing an order. This lets you know if the activity was from a nuisance customer and should be ignored or dealt with accordingly. To access blacklist settings, navigate to Orders → Blacklist.
Adding to the blacklist
To add data to the blacklist, click on the  (Add to blacklist) button.

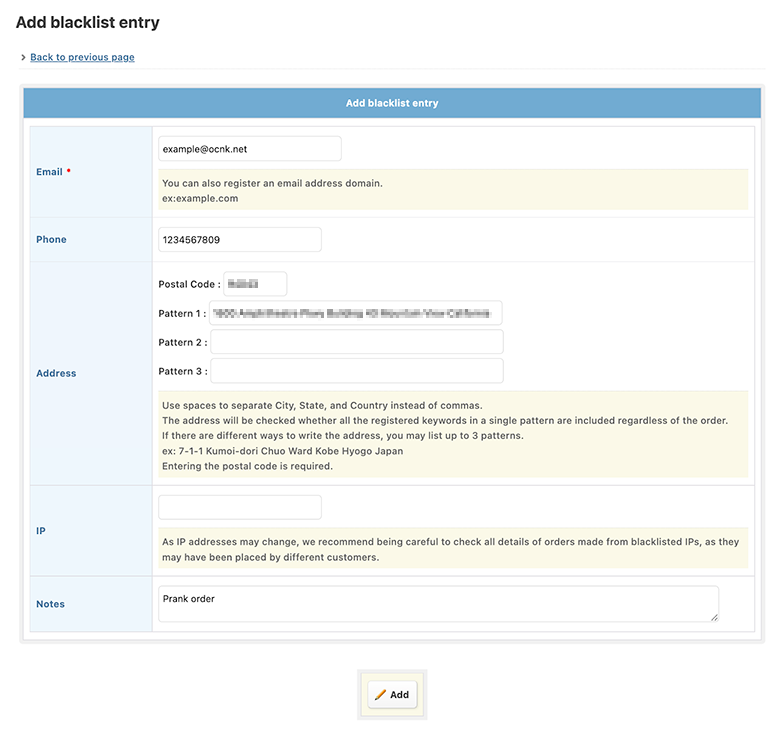
Enter the data you wish to flag and click  Add.
Add.

Email address is mandatory, but any data entered will be flagged regardless of whether it is associated with the other data in the entry. Data entered in the Notes field will not be flagged, and can be used to keep track of why information was added to the blacklist.
Regarding address
Only when the postal code matches, will the patterns be checked against the sender and shipping addresses.
Do not abbreviate country names or state names as they will not match the system. (ex. United States, New York)
Managing the blacklist
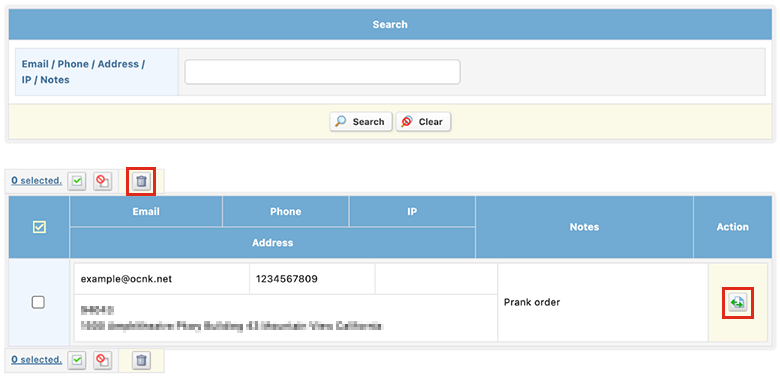
All registered blacklist information is displayed in a list on the lower part of the page. There is a search function that allows you to narrow the display down to specific data. To edit blacklist information, click the  (Edit) icon. To delete information, select the entries you wish to delete and click the
  (Delete) icon.

It is possible to select multiple entries at once by holding down the Shift key and clicking on the first entry and then the last entry you wish to select. For example, if you want to select entries 2, 3, 4, and 5, clicking on 2 then 5 while holding down the Shift key will select all of these.
Blacklist notifications
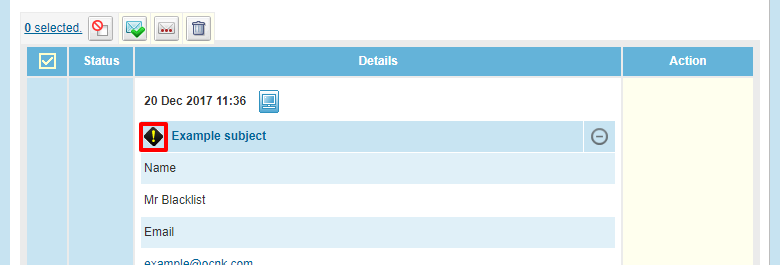
Flagged orders and inquiries are displayed with a black ! icon on the order and inquiry lists, as shown below:


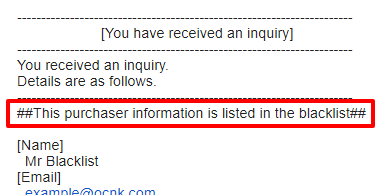
A note will also appear at the top of order and inquiry emails:
